In this post I will be sharing some techniques for looking after and protecting your Oculus Rift DK2 with a focus on lens protection. These are techniques I have applied to my own unit and seem to work. Feel free to recommend some variations and other tips that I can add to this post.
Protecting the lenses
The DK2 seems to have an inferior lens quality to the DK1 (or lacking the required anti-scratch coating), as a result many users have scratched up their DK2 lenses after days of play. Some are reporting the cleaning cloth as being the problem, others the lens, and others are not having any issues. It is possible that their is some inconsistency in how the lenses are being coated in the factory, resulting in some users having worse problems then others.
Anyways, better to be safe then sorry.
I have managed to protect my lenses by applying to them the same protective film used on smart phone screens, it is a finicky process but worth the peace of mind.
what you will need:
- compass (thingy for drawing circles)
- ruler
- pencil/felt tip pen
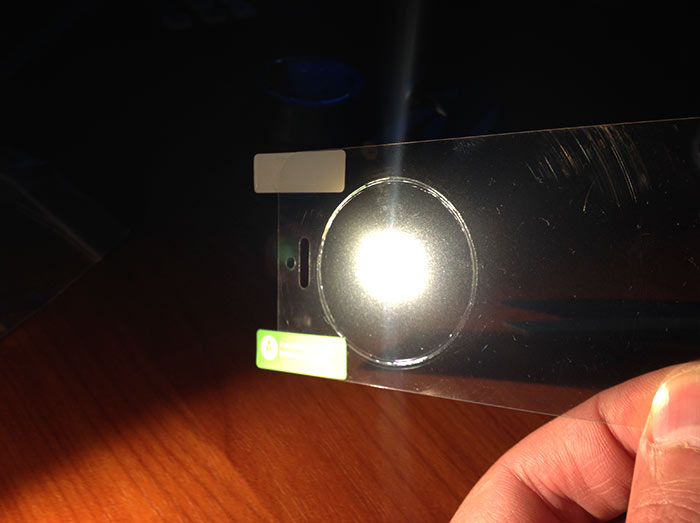
- mobile phone plastic cover (DO NOT USE A MATT FINISH, AS IT WILL RESULT IN POOR VISIBILITY)
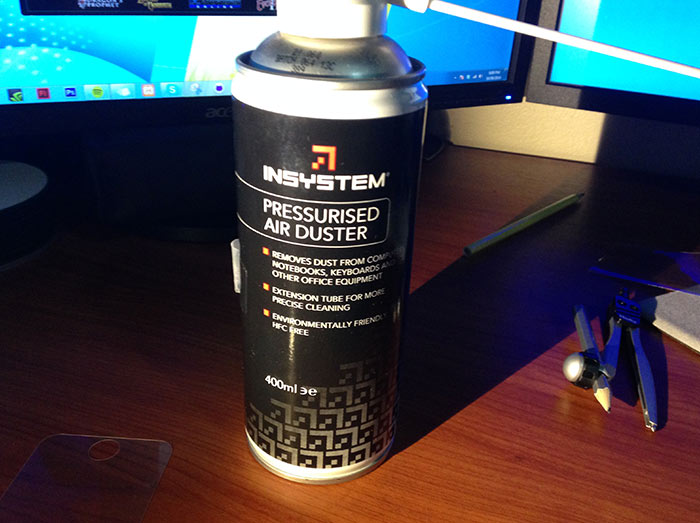
- compressed air
- scissors
Step 1: Draw 2 Circles on the plastic cover
The DK2 lenses have a diameter of about 41mm so measure half that distance and set it to your compass angle.
Note: if you are unsure, its better to measure larger then cut the circles down to size later, if you start too small you are screwed.
Place the compass tip on the plastic firm enough that it wont slip, this may cause a very minor mark on the plastic, but its not a bid deal, just don’t go pocking a hole all the way through.
I used a pencil to do this, only because I didn’t have a felt tip pen handy. I recommend a felt tip pen as it can be difficult to see the pencil lines.
TIP: Instead of rotating the compass, rotate the plastic
You will now have either a dark pen outline or a faint pencil line. If you used a pencil and are having trouble seeing the line, shining a light on it whilst angling the plastic helps.
Step 2: Cut out the circles
With scissors cut out the circles as close as you can to your markings.
It is unlikely you will get the perfect shape of the lens on the first go. Line it up on the lens and make little adjustments to get the perfect shape of a circle.
TIP: You want final circle to be slightly smaller than the lens so it doesn’t overlap the lens cups
Step 3: PREPARE YOUR LENSES!!!
You need to make sure your leness has no visible dust on them, depending on your environment this may not always be possible.
TIPS:
- de-dust your table/work-space by wiping down surfaces with a moist cloth.
- let the dust settle (After cleaning the dust hangs in the air, give it about 15 minutes).
- avoid disrupting any nearby dusty areas. No flapping of flags.
- de-dust the micro-fiber cloth before using.
- dust can be hard to see with just natural light/ room ceiling lights. Use a lamp or torch to expose the dust.
Use compressed air to blow on the glass of the lens. If there are any scuffs or smudges GENTLY use the supplied cloth, or a quality microfiber cloth to give it a wipe.
When you are satisfied, remove the adhesive from the plastic cover and apply it to the lens, pushing out any bubbles with your finger.
Note* if you get some minor dust particles or bubbles that you can’t get rid of, don’t be too alarmed as it will likely not be visible when the screen is lit up.
Step 4: Remove adhesive and apply the covers
Keep your cloth in a dust free environment
Do not leave your microfiber cloth lying in the open where it can collect dust, rather store it in a reseal-able sandwich bag.
Pack away your spare lenses and head unit properly
Using a resealable bag, pack away your spare lenses so they stay dust free, keep them level in a draw or something so they don’t bounce around.
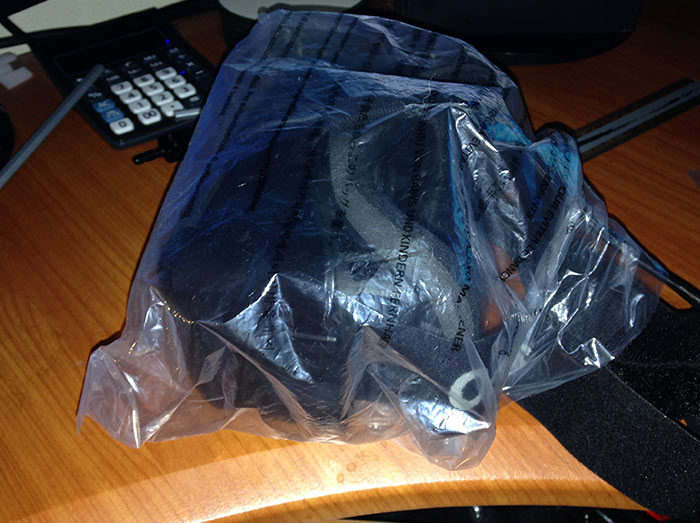
Unfortunately the DK2 did not ship in the same fancy carry case we saw with the DK1, instead DK2 buyers have been slightly short changed and given a cardboard box (not so different to that which a up market cupcake shop would provide). I don’t keep my unit in this box during the day, instead I keep my unit in the plastic bag that came with the unity during shipping.
Use compressed air to keep dust out of the nooks and crannies of the head unit
With the lenses in place, use compressed air to blow inside the face area of the Rift to get rid of accumulated dust. Pay attention to any specific areas where dust looks to be building up and deal with it before it becomes a problem!
I hope this guide has helped you, feel free to comment and add some suggestions that I can add.


Thanks for your tip.
I linked your page to the oculus forum ( I hope it´s okay )
Question: With diameter about 41mm, you mean the pure lense ?
I ask because I ordered round protective films with diameter 40mm.
Correct 41mm across the lens from left to right. I think 40mm should be ok, it’s not essential cover 100% of the lense, 95% should be acceptable. The main purpose of the protective cover is to allow you to wipe the lenses, most of the time you will be cleaning the middle section, so it should not be a problem.